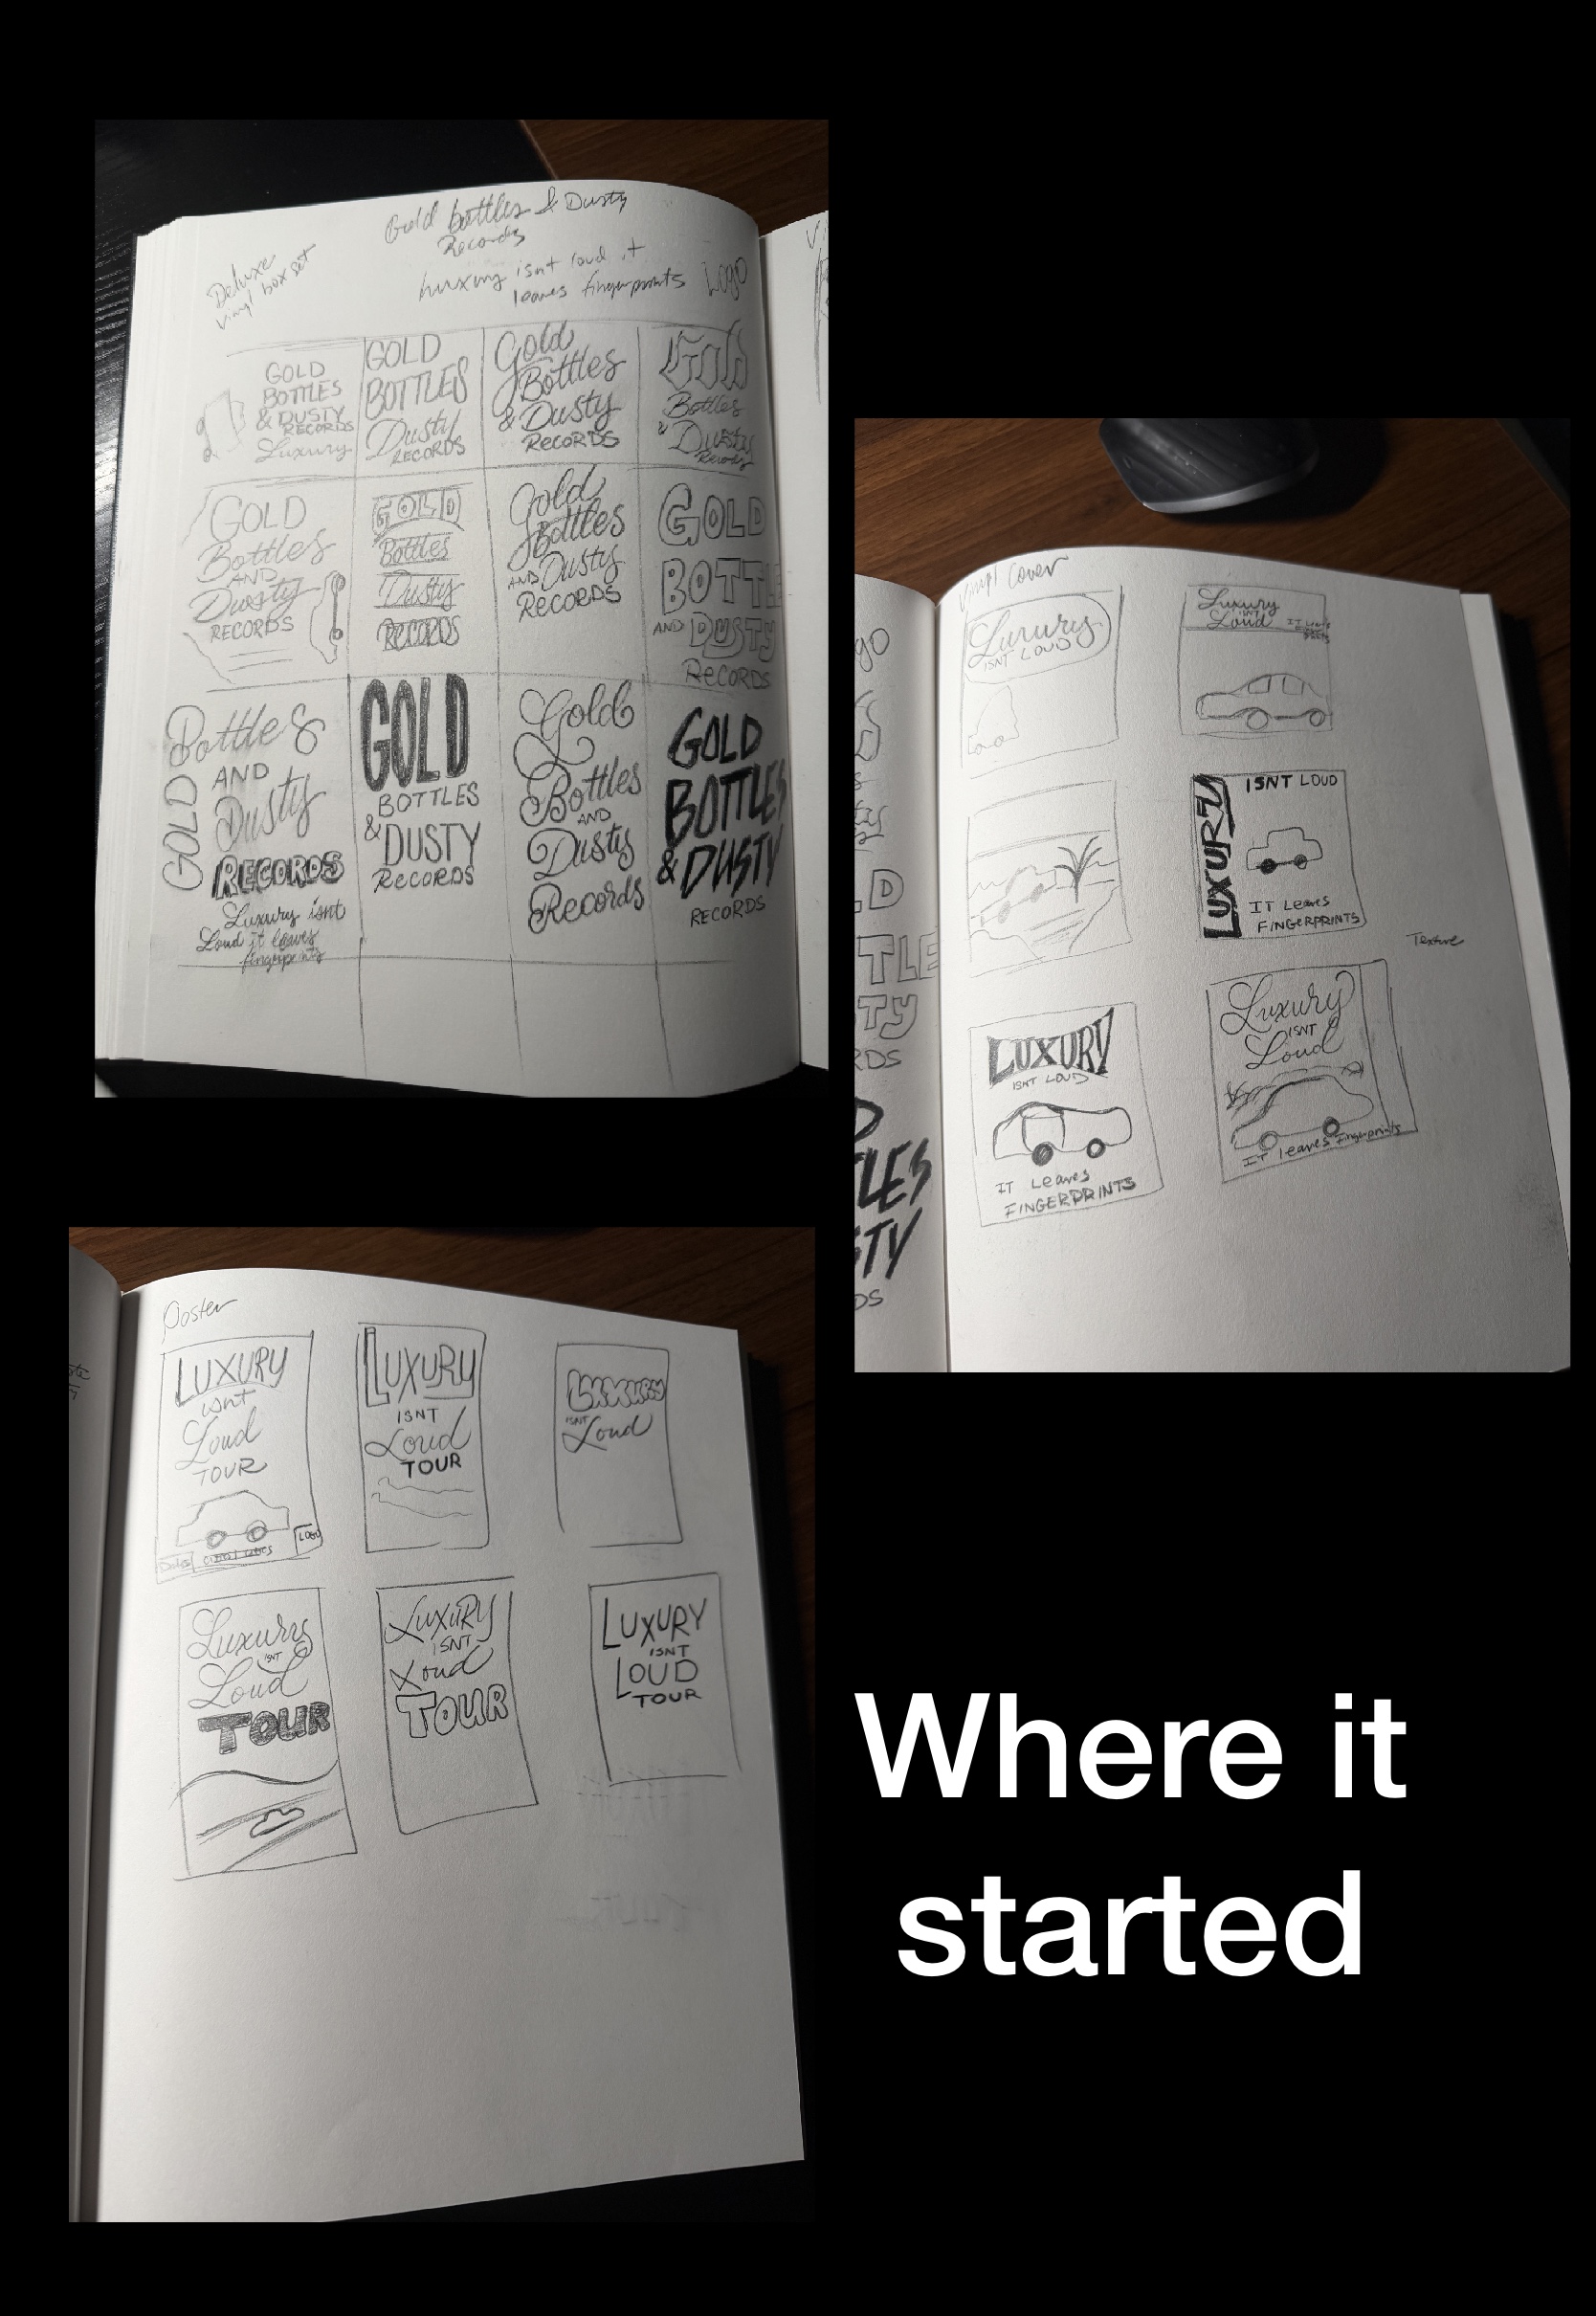
When you commission me for a project I start with sketches and then it goes from there. Because without sketching you will not be able to flush out the ideas. Then I’ll be able to come up with a better direction of where we can go with the project.
Coming up with a Vinyl cover design, Record label logo and a Tour poster design. The overall approach for these came from sketching and a lot of trial and error. The overall vision was being able to maintain legibility, and taking a step back to see how it’d look in real life use.
The artists that inspired this project are Madlib, Larry June and Westside Gunn. Each of them have their own style and the creativity they show us. Because I am inspired by that and for sure align with the vision each of them have. I did my best to embody their spirit of creativity with the overall project.
What I learned from the project is not feeling the need to overdo it. As well as keeping the vision in line with how I felt the design would look finalized. Because its so easy to keep going and going. I liked how the completed pieces look and feel cohesive. As well they solve the problem as they are intended to do so.
Starting out calligraphy there will be an overwhelming amount of products you are going to be seeing. Because to be honest there are a lot of them out there that are not good. But that is subjective and you have to try many different ones out that work for you.
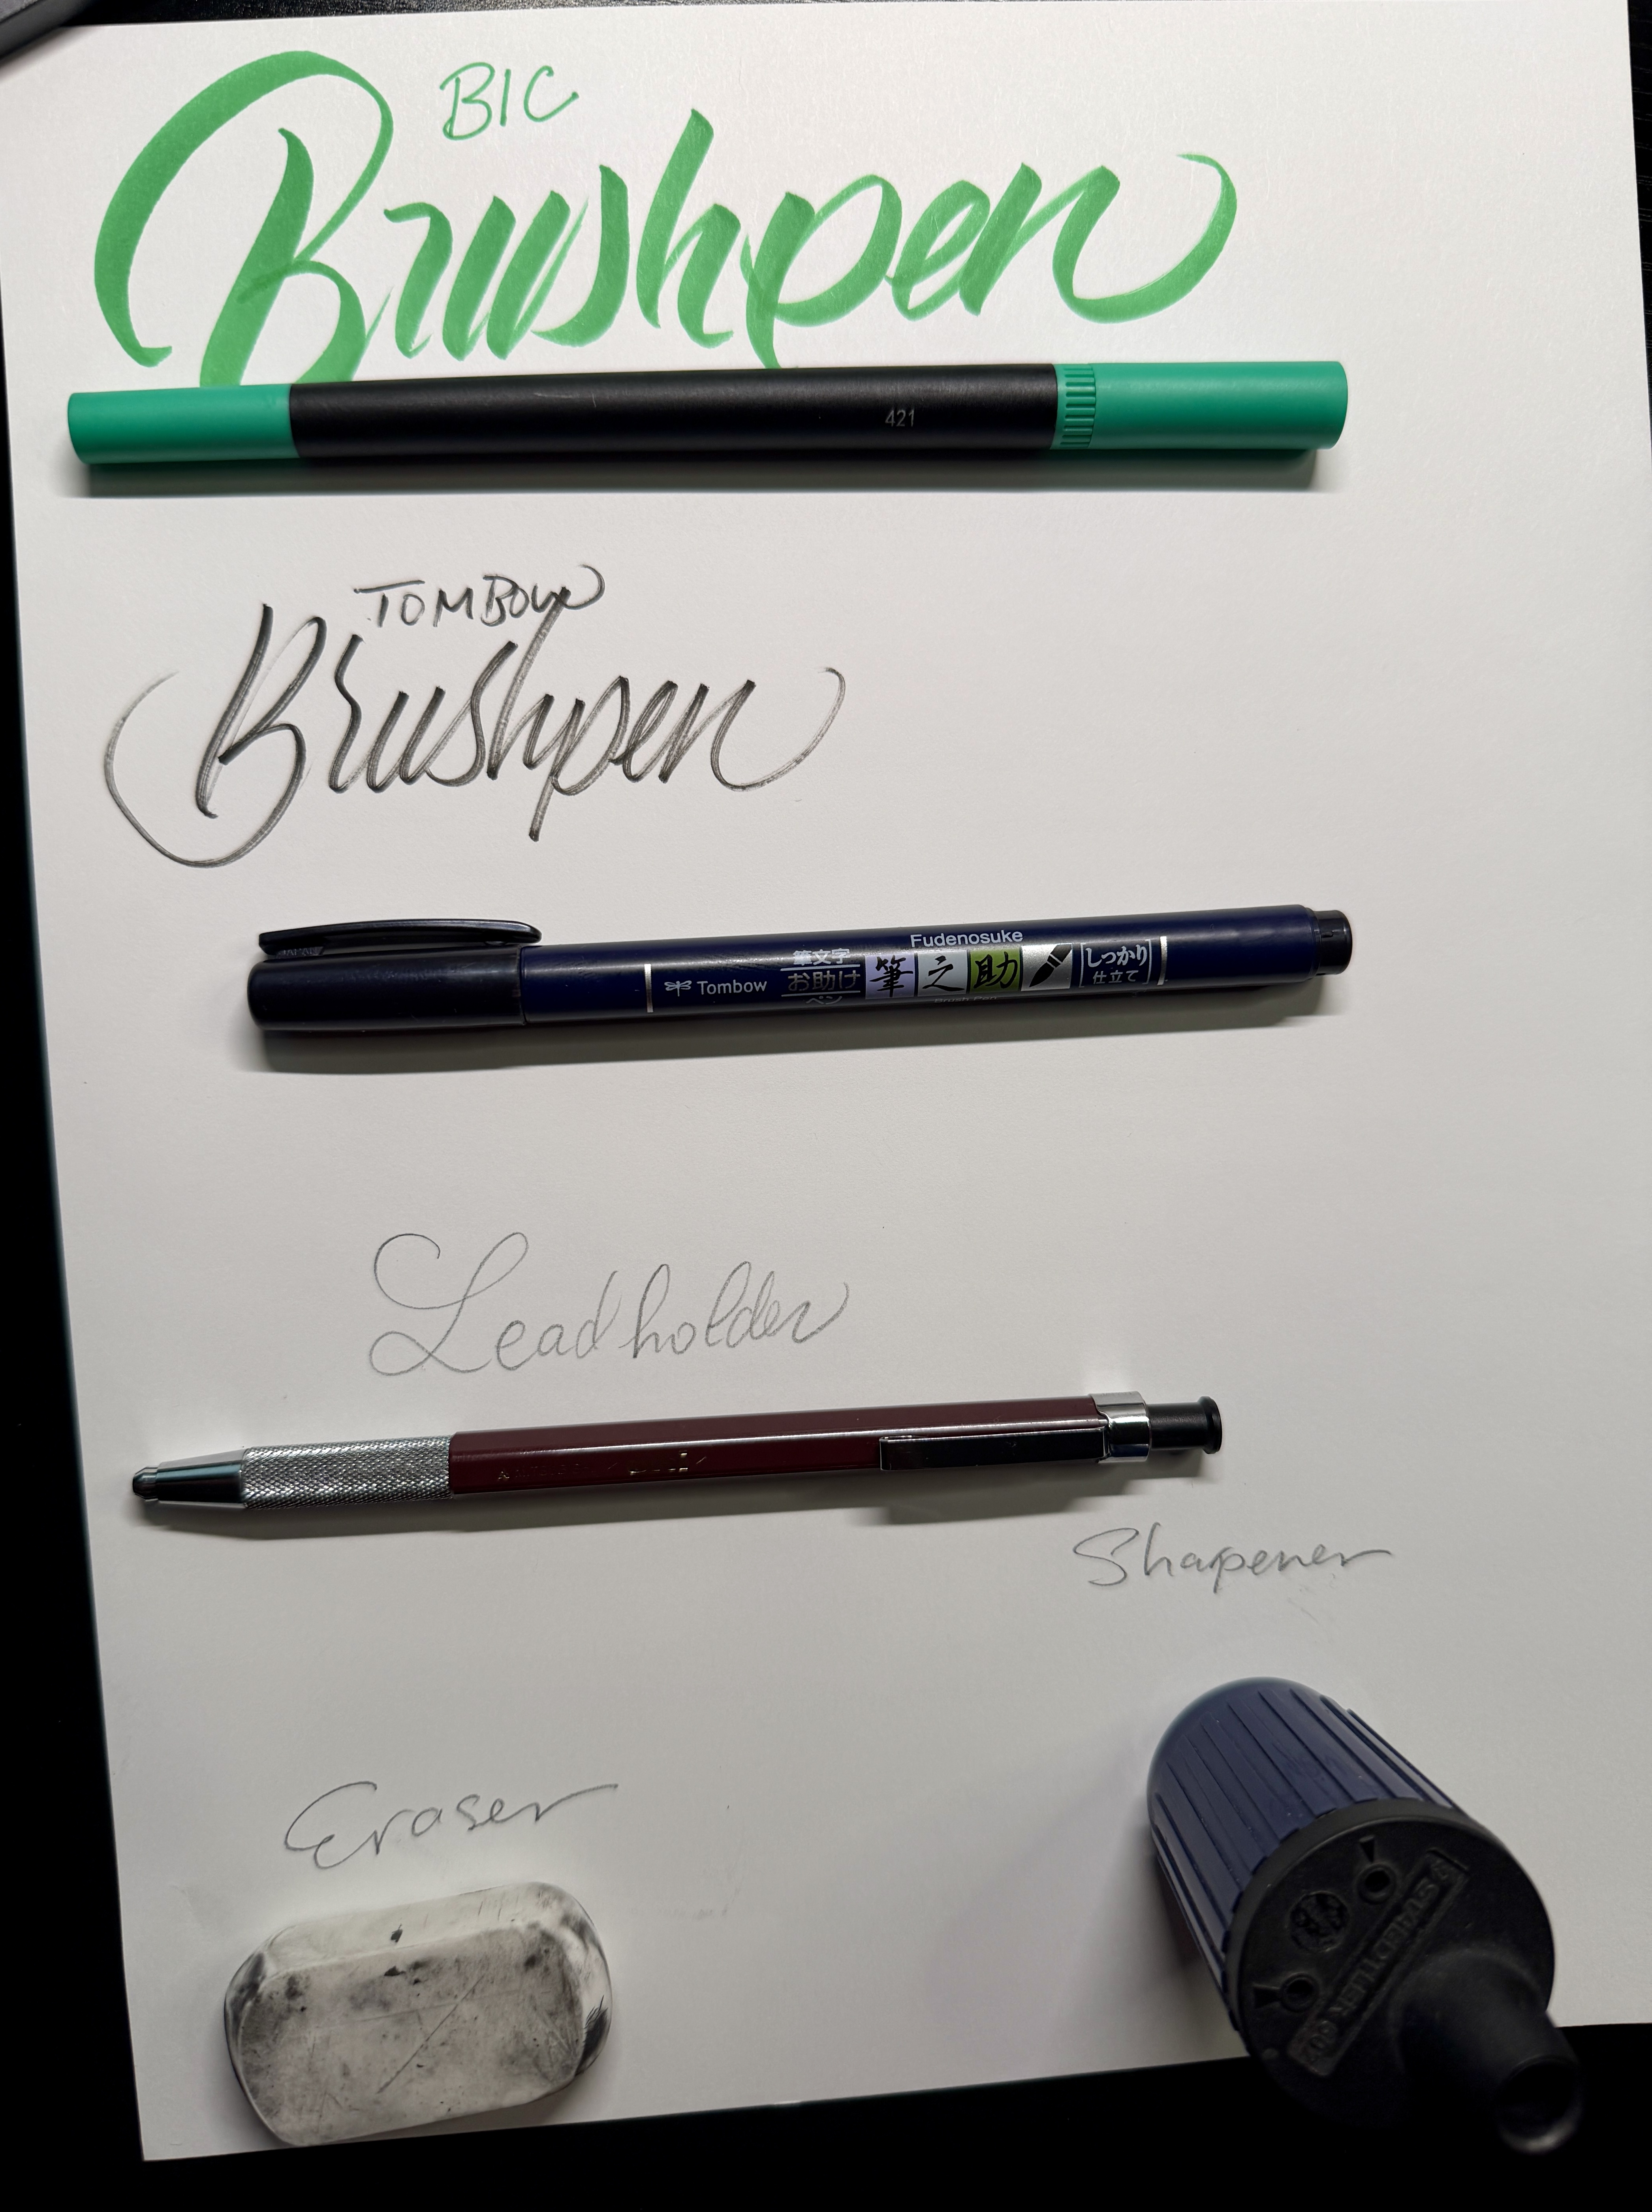
The easiest to start with is brush pens. The vast amount of brush pens that are available I’d say buy many different brands, types and colors. The default that people automatically go for is Tombow dualtips. As Tombow dual tips are good markers. I came to the point that its not good to just get caught up in using them. Especially since I stated trying to use different brush pens rather than the most common ones. The brush pens I like to use are from Kuretake/zig mostly. To me the quality of the ink and build of the marker works great. But as a beginner the Bic Intensity dual tip brush pen is a great beginner brush pen and its easy to find. Also the one pictured the Tombow fudenosuke is a great beginner brush pen as well and its easy to find and not super expensive.
The type of pencil that I use is a lead holder. A lead holder is a mechanical pencil used for drafting, illustrating and etc. I feel lead holders have a greater strength of lead and also the sharpness of the pencil lasts longer. Plus the sharpener is another addition that works well with it. The one here has 2 slots for cleaning off the shavings. The other spot between the two holes is a piece to clean off the lead after shaving it.
The eraser I use is a Pentel Hi-Polymer Block Eraser. Cause using the standard gum eraser to me is harsh on the paper when I am erasing. Also I love that it doesn’t leave any stain on the paper either when erasing. This is what I have found that works for me.
My name is Josten dooley and I am a Graphic designer and self taught Calligrapher. My introduction to Graphic Designer I had no idea it was called Graphic Design. There was one day I was at the skatepark skateboarding with my friends and one of the guys said he was in school for graphic design. Then the rest is history with my venture into graphic design.
I enjoy the process of solving a design problem. For example I love the creation of creating branding. The creation of a logo that will be easily recognizable and take on a life of its own. The layout of typography on a page is another task I like as well. I remember my first internship was working at a publishing company and page layouts was a daily task. To me it is like a game of tetris.
My venture into calligraphy was an interesting one. Because I reminded myself of how it was a strong focus on typography and hand skills when I was in design school. One day at Ross I came across a calligraphy kit. I said to myself let me post daily and see what happens.
I eventually came into finding a community within calligraphy. Then after learning the vast amount of calligraphy work that is available I came into finding myself more passionate about it. Also how I can integrate it into my design work and expand upon it.
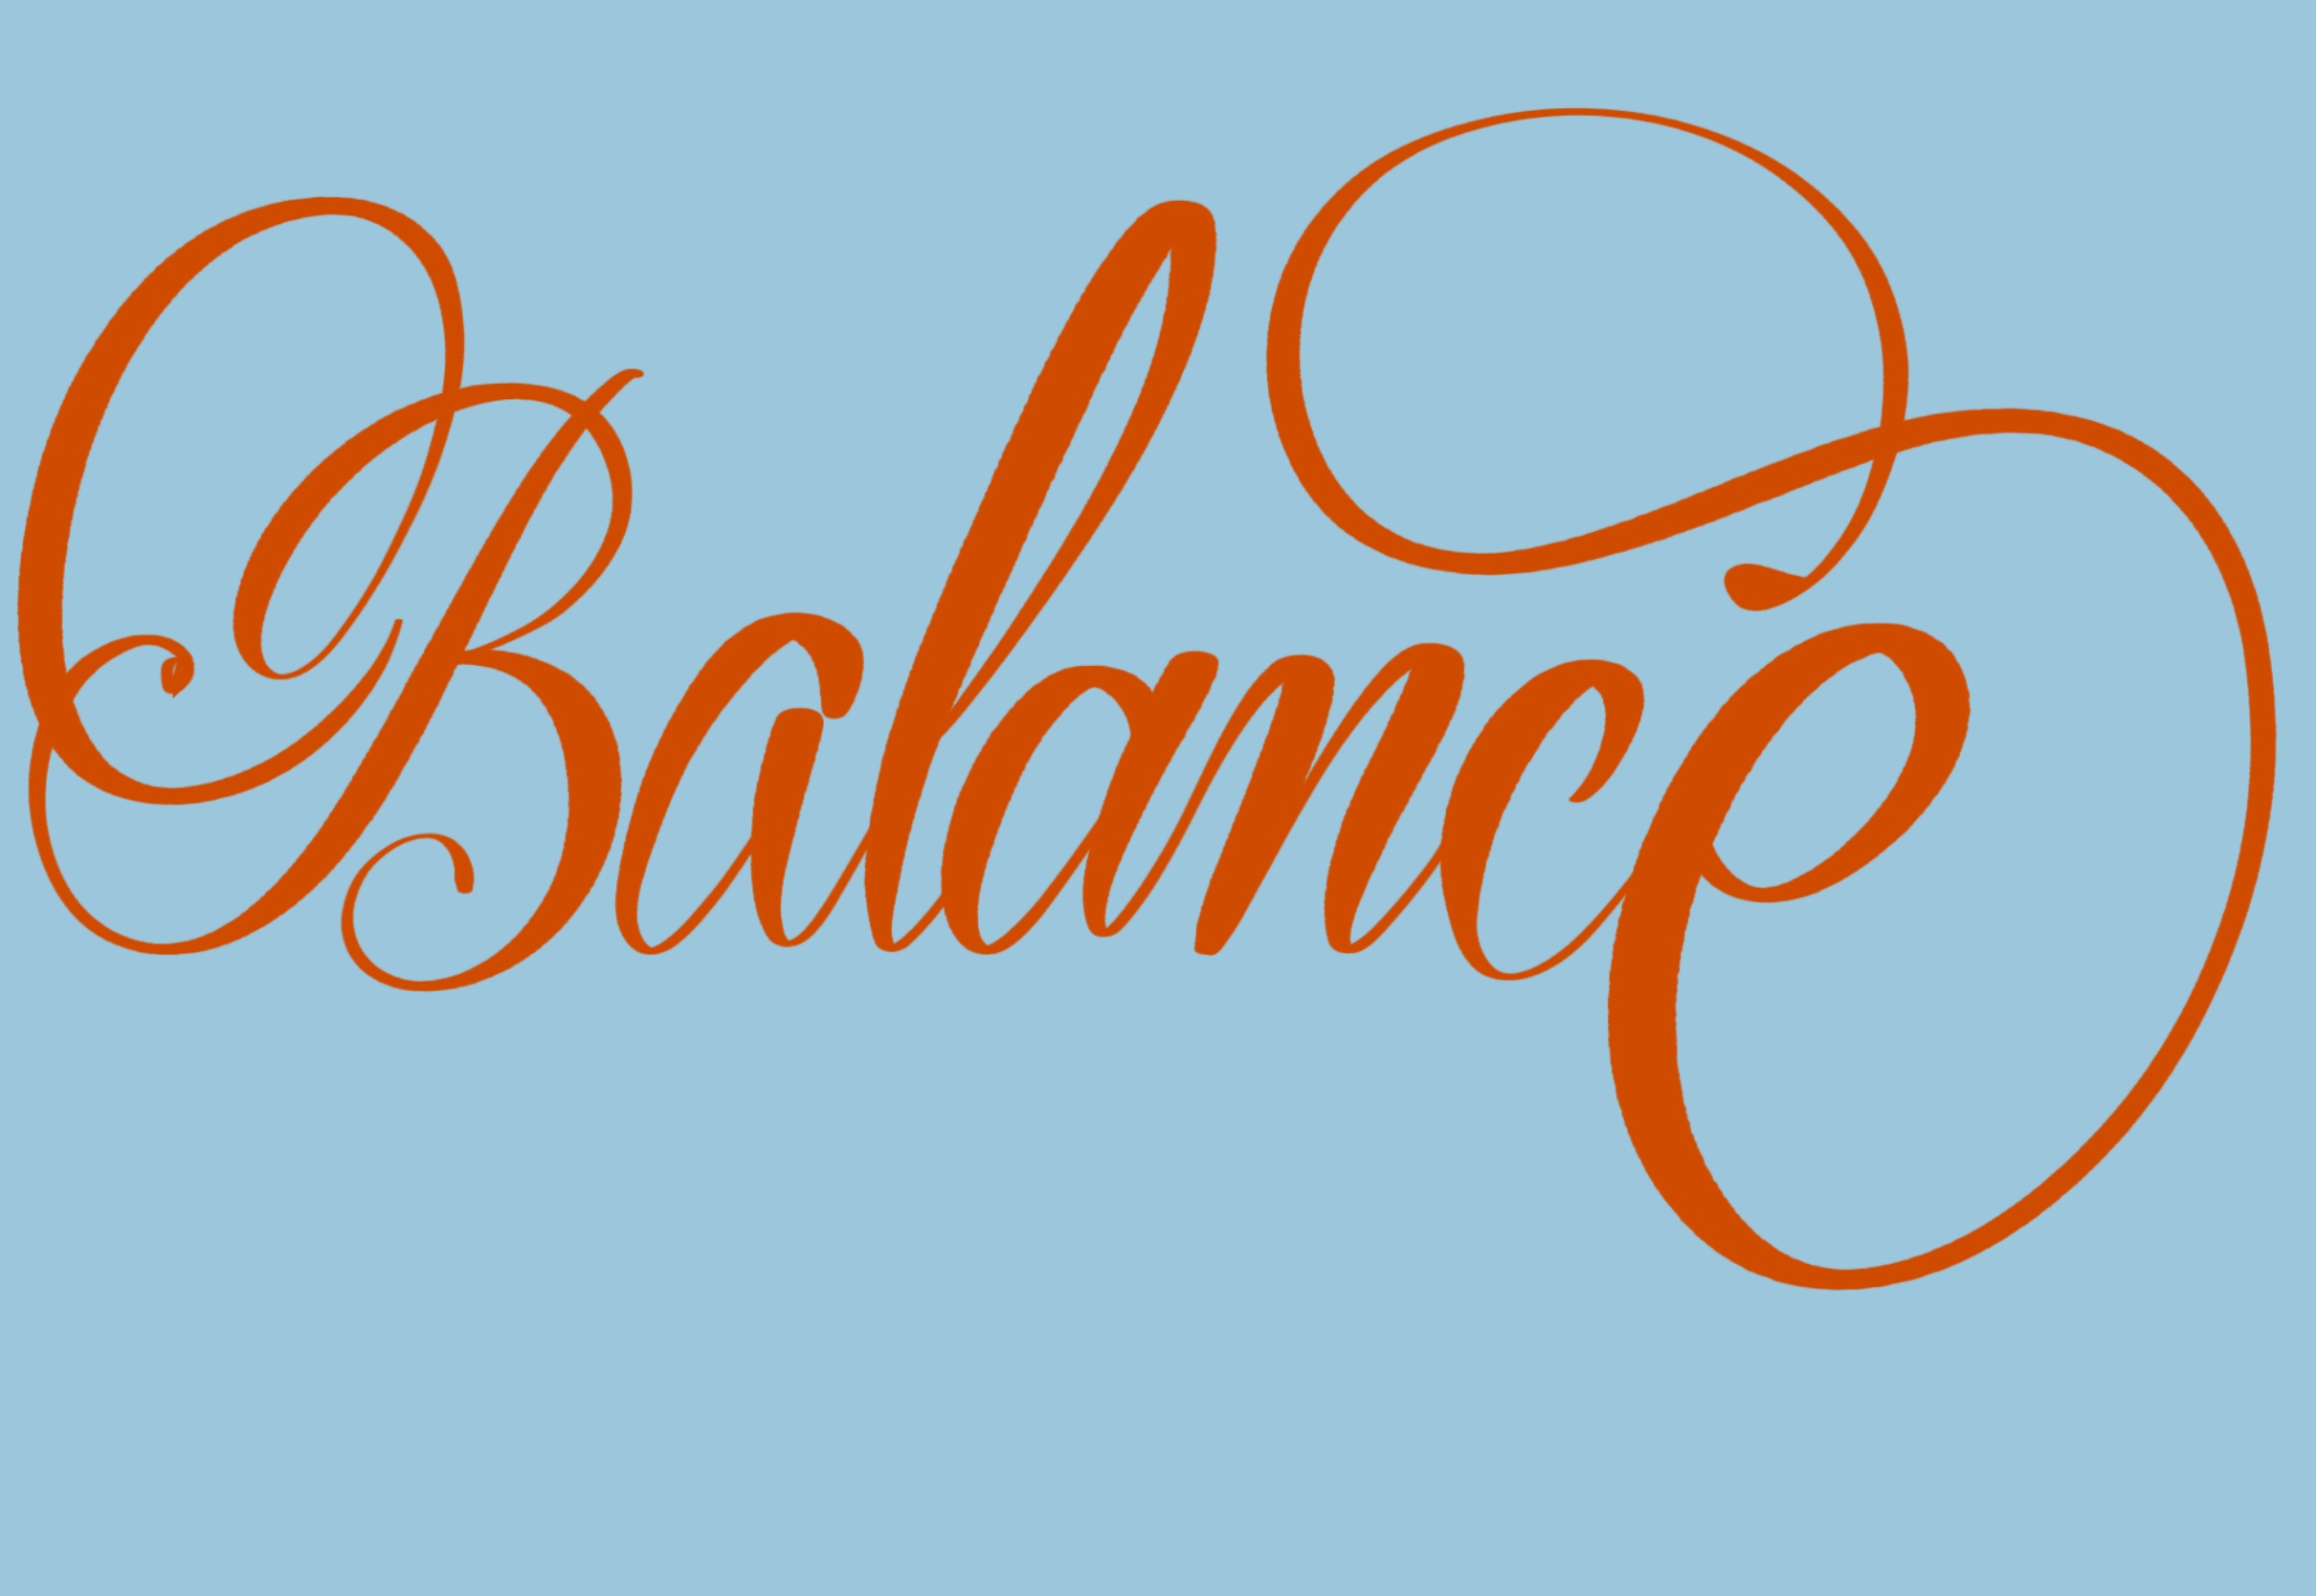
Finding balance in my day job and freelance life was difficult at first. I learned one of the best ways was to figure out how to automate systems. Then believing in the process. There are days when some content does good. Then there are days when it’s crickets with my content creation and client work. One of the most important things I do is maintain a healthy mental state. Because of the many things in our lives that can impact us either negatively or positively. So now let’s get into how I balance my day Job and freelance life.
The first way I start off by balancing working a full time job and being a freelance graphic designer is by figuring out the way, I can start by making it into a system. The system that will allow me to create on a consistent basis and not be burnt out. The creation of content can be another thing that most will just say F it and I’m not with it. Looking for the Joy in all of it is what I tend to focus on. Before I did not grasp this concept fully. But back to what I am saying about how I am able to balance it all.
Then the creation of new work, content is a good marketing and lets people see who you are. The way to let people fully grasp whom I am as a person/designer lets them into my world. Then using the skills from my day job into my freelance work. I always like to look towards the way of how I am progressing with the skills I have learned.
Now I set out a day that I am off where I am able to set up everything for the coming days. Having daily plans laid out helps a lot. Because I have learned having something to strive for helps with the balance instead of flying blind.
Keeping your mental state healthy working a day job and striving towards being a full-time freelancer/content creator can be hard. Because it can feel like you are running in place. But meditating, writing in a Journal helps a lot. These are things that work for me and reading books that inspire you and help move you further along helps out a lot. Daily reading, Journal writing and meditating, scheduling and planning make the whole balance of balancing a day Job to help me get further towards my Goal of being able to work Full time Freelance/ Content creator.
to those of you who are still here even though I do not post as frequently, I appreciate you. The years of posting and having a blog can definitely get pushed to the side. But I know a lot has happened over these past years in all aspects of our lives. I want to honestly and truthfully say thank you.
ant to make your handwriting look more aesthetic and clean? In this video, I’ll show you simple and easy tips to instantly improve how your handwriting looks—even if you’re a beginner! Whether you’re journaling, taking notes, or just want your writing to stand out, these tricks will help you develop neater and more stylish handwriting with minimal effort. 🖊 WHAT YOU’LL LEARN: How to slow down and gain control Basic spacing and letter consistency Adding flair to your handwriting
Let Your Creativity Shine: A Guide to Embracing Your Creative Journey
Creativity is like a light—it has the power to illuminate not only your path but also the lives of others. Yet, as creatives, we often dim our own light, held back by self-doubt, comparison, or fear of failure. It’s time to step out of the shadows and let your creativity shine unapologetically.
Whether you’re a graphic designer, a calligrapher, or an artist exploring your craft, embracing your journey starts with believing in your unique vision. Here’s how you can let your light shine and inspire others along the way.
1. Embrace Imperfection
Creativity thrives in imperfection. Too often, we get stuck trying to perfect every line, pixel, or stroke. But the real beauty of your work lies in its authenticity. Allow yourself to experiment, make mistakes, and evolve. Every “flaw” you see in your work is a stepping stone to growth.
2. Find Your Why
What drives you to create? Is it the joy of self-expression, the desire to inspire, or the hope of making an impact? Keep that “why” at the forefront of your creative process. When you align your work with your purpose, it becomes easier to push through moments of doubt or creative block.
3. Stop Comparing and Start Sharing
In a world of social media highlights, it’s easy to fall into the comparison trap. Remember, no two creative journeys are the same. Instead of comparing your work to others, focus on sharing your unique perspective. Someone out there is waiting to connect with your style and your voice.
4. Build Daily Habits
Letting your creativity shine isn’t about a single moment of brilliance—it’s about consistency. Set aside time daily or weekly to hone your craft. Create small projects for yourself, explore new techniques, or revisit old works with fresh eyes. Over time, this discipline will amplify your creative confidence.
5. Seek and Build Community
Creativity flourishes in collaboration. Surround yourself with other creatives who uplift and challenge you. Join design groups, attend workshops, or simply share your process online. Encouragement from like-minded individuals can fuel your passion and push your boundaries.
6. Share Your Light with the World
Don’t let fear hold you back from sharing your work. Post that design, release that product, or showcase your portfolio. Each time you share your light, you give others permission to do the same. And who knows? Your work might just be the spark someone else needs to start their creative journey.
7. Celebrate Your Wins
It’s important to pause and celebrate how far you’ve come. Whether it’s completing a project, gaining a new skill, or simply feeling more confident in your abilities, these moments are worth acknowledging. They remind you that your light has value and is worth shining.
Creativity is a gift meant to be shared. When you let your light shine, you inspire others to do the same. So pick up that brush, tablet, or pencil and embrace the journey ahead. The world is brighter when you create unapologetically.
Sketching in procreate can be difficult to learn how to do properly. The video here I explain a bit of my process and how I go about sketching in the Procreate App on my iPad Pro with my Apple Pencil.